About Hardware
This page explains the structure of the Hardware sub-project, provides links to its resources, and outlines how to contribute to Flipper One's electrical hardware development.
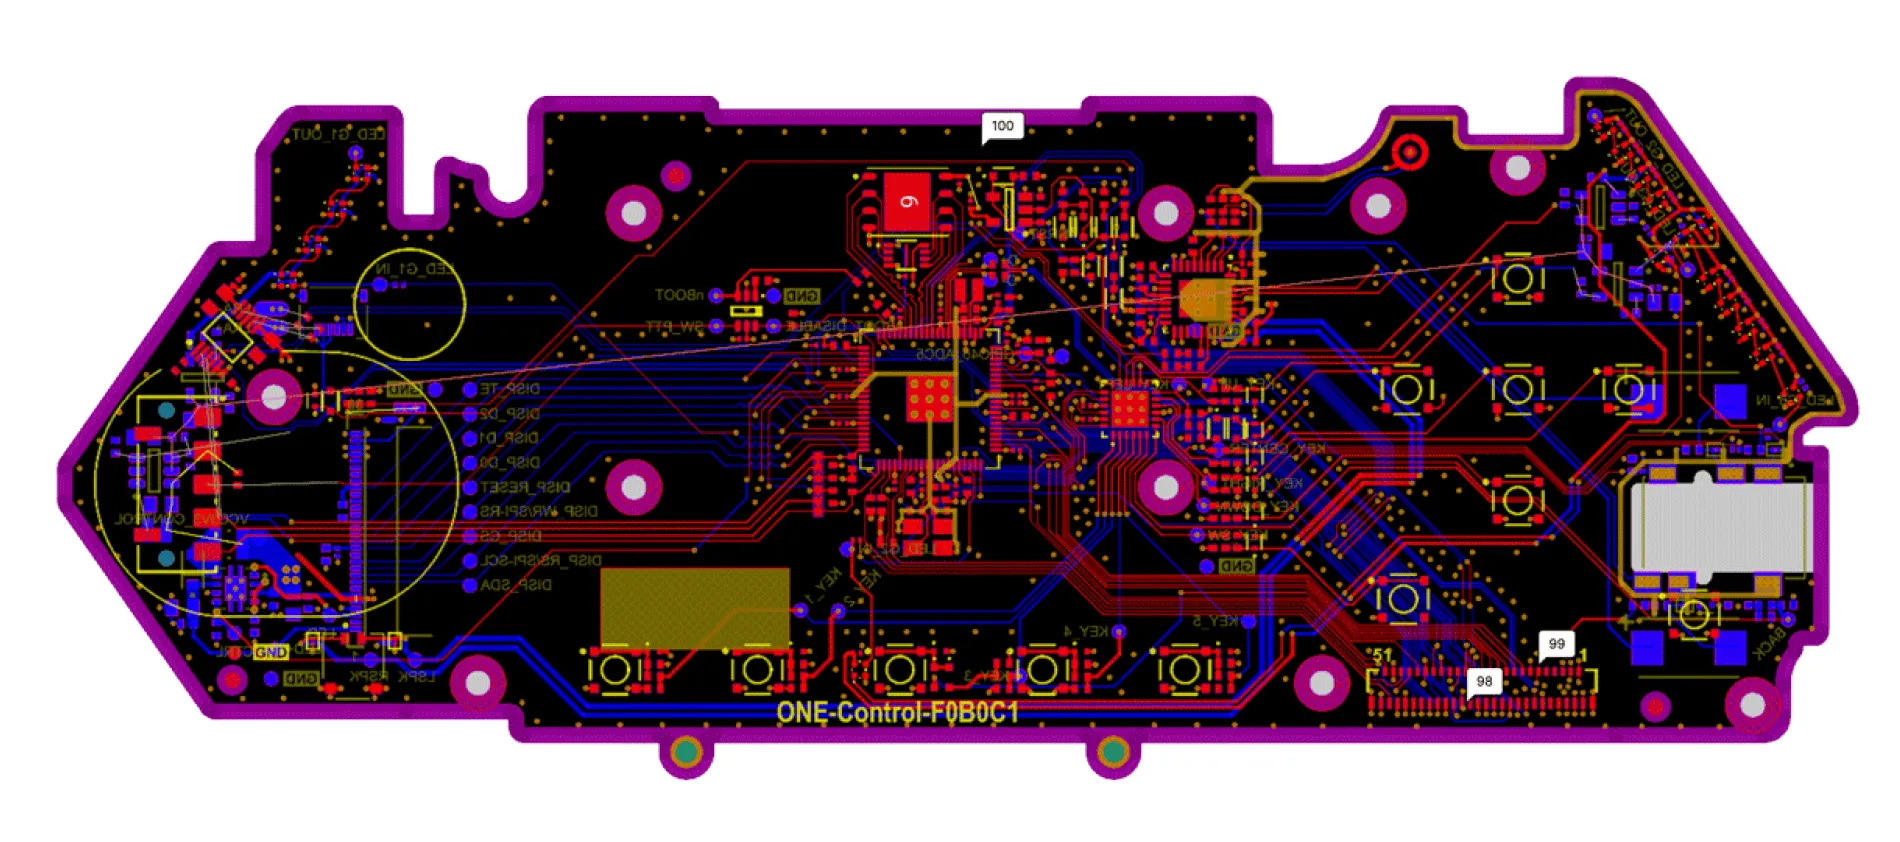
The Hardware sub-project covers electrical hardware development: printed circuit boards (PCBs), antennas, schematics, and everything related to the electrical connections of chips, connectors, and processors. The Hardware team works closely with the Mechanics team to ensure the electronics are compatible with the enclosure.
The Hardware sub-project consists of:
- 📚 Docs:
- 🔌 Hardware section (you're here)
- 🧪 Testing section🧪 Testing section
We'd love your feedback — look for tasks tagged help wanted in the task tracker, share your ideas in the comments, or contribute directly to the docs.
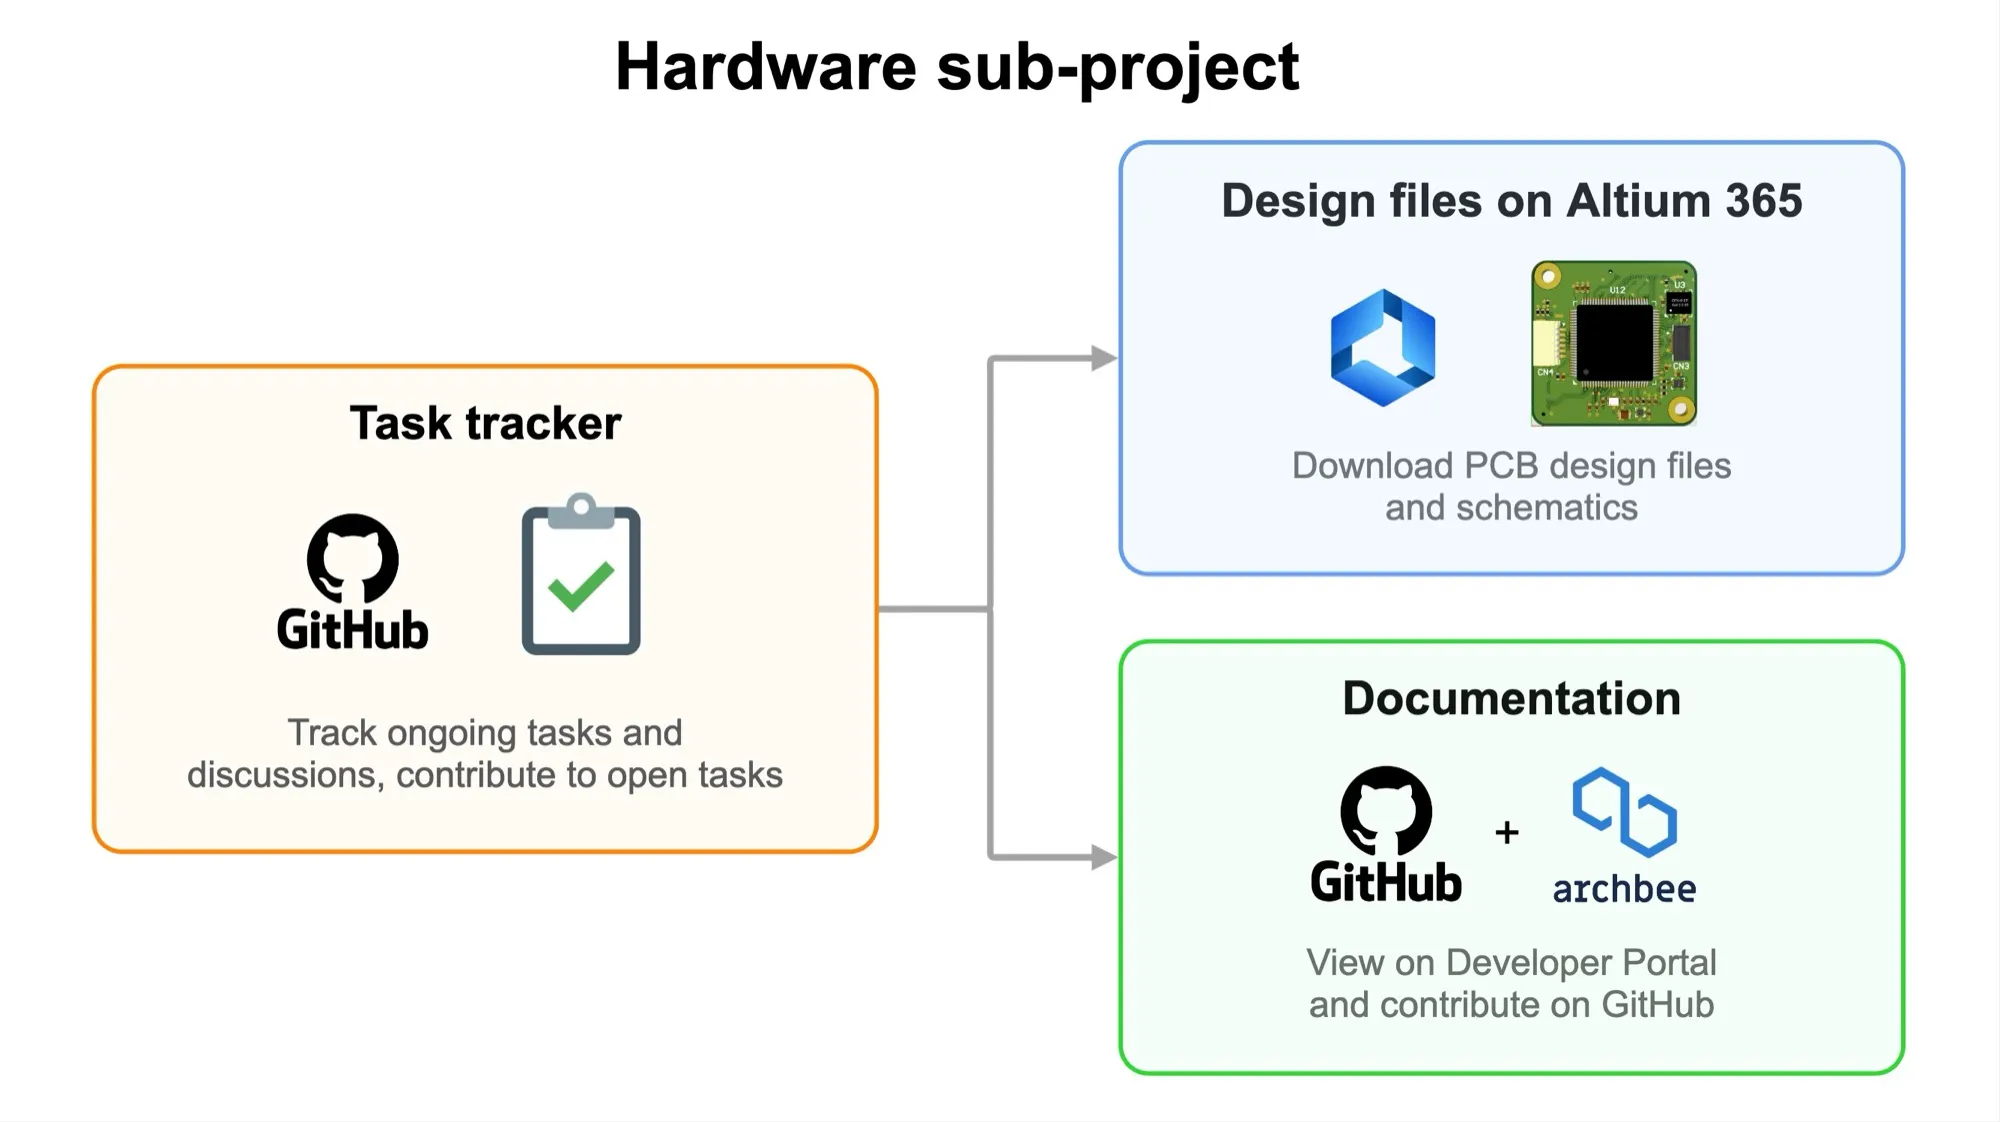
✅ Tasks tracker
All Hardware team tasks are tracked in the GitHub project Flipper One — Hardware. There, you can see what the engineering team is working on and follow progress and discussions.
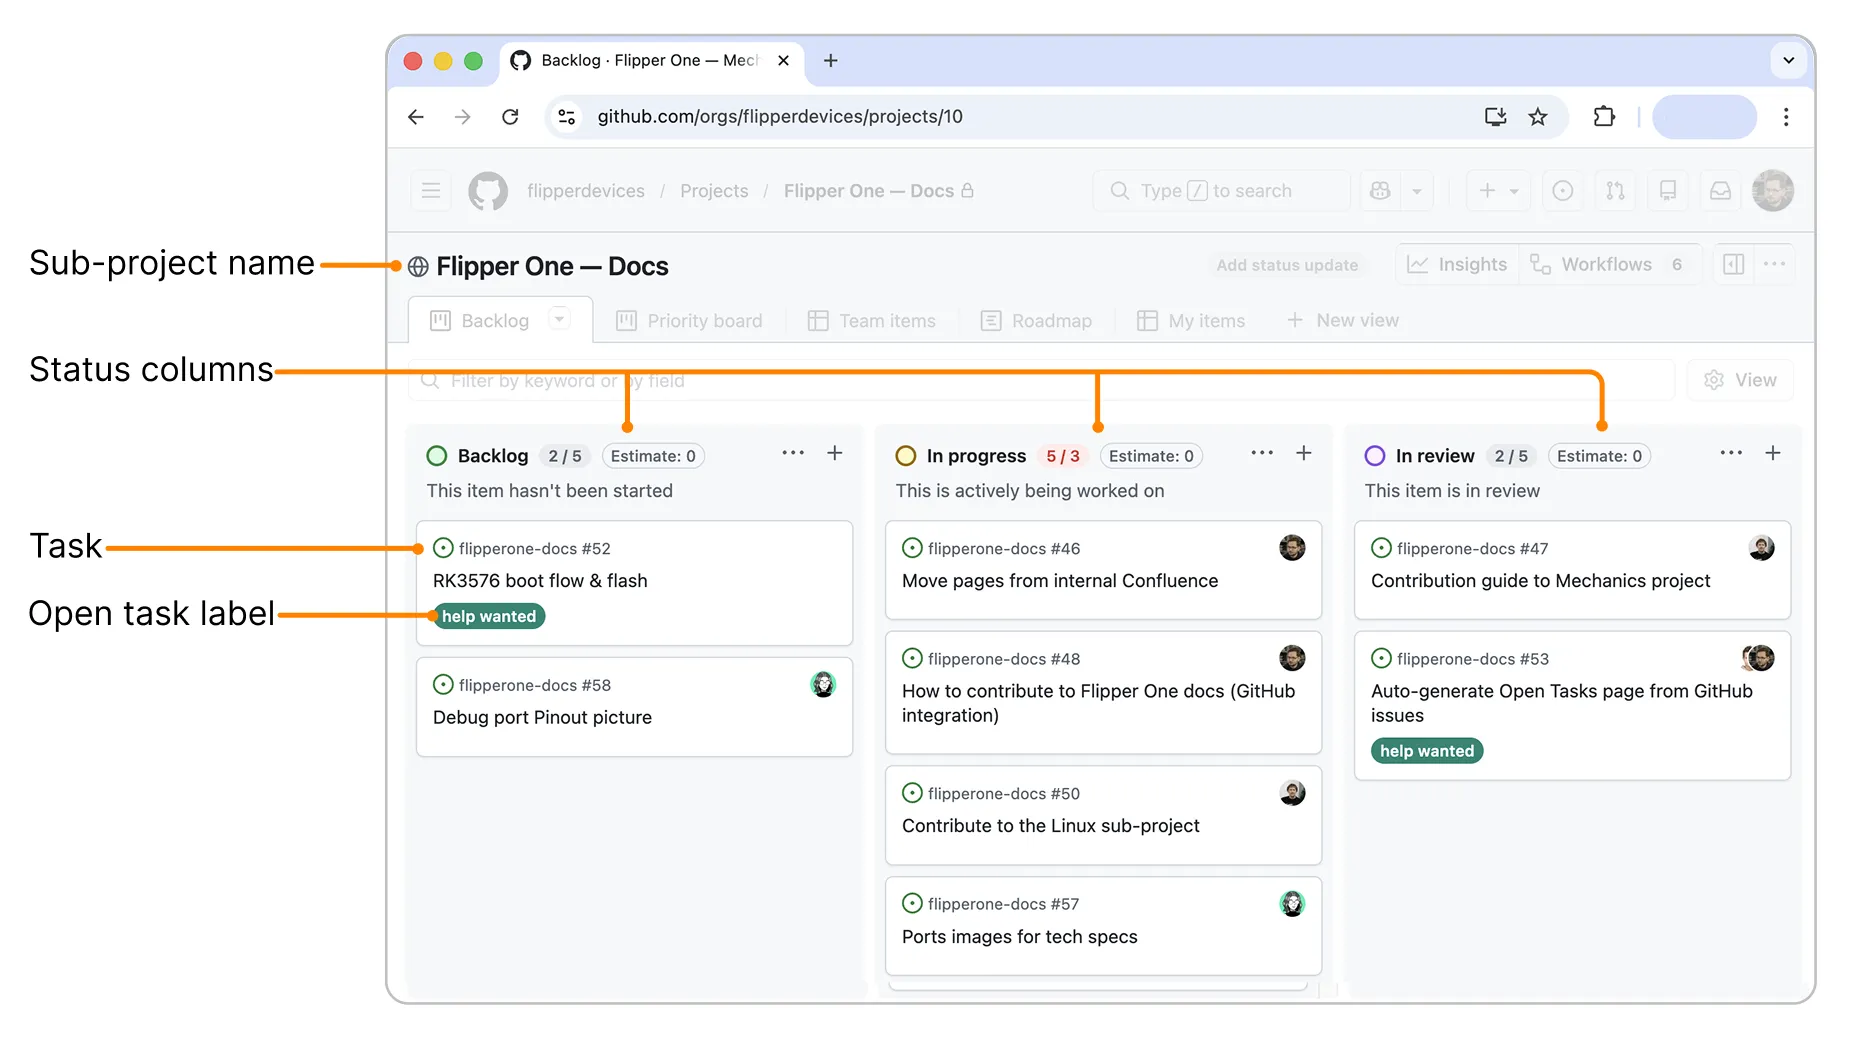
Some tasks are open to the community and marked with a help wanted label. You're welcome to join the discussion on these tasks or submit your design proposals — just make sure to read the Contribution guideContribution guide first.
⚡ Design files on Altium 365
Selected parts of Flipper One's electrical design — schematics, PCB layouts, and BOM — are hosted on Altium 365, the cloud collaboration platform for circuit design. Altium 365 hosts the latest version of the shared design files; you can view them in your browser without installing any software.
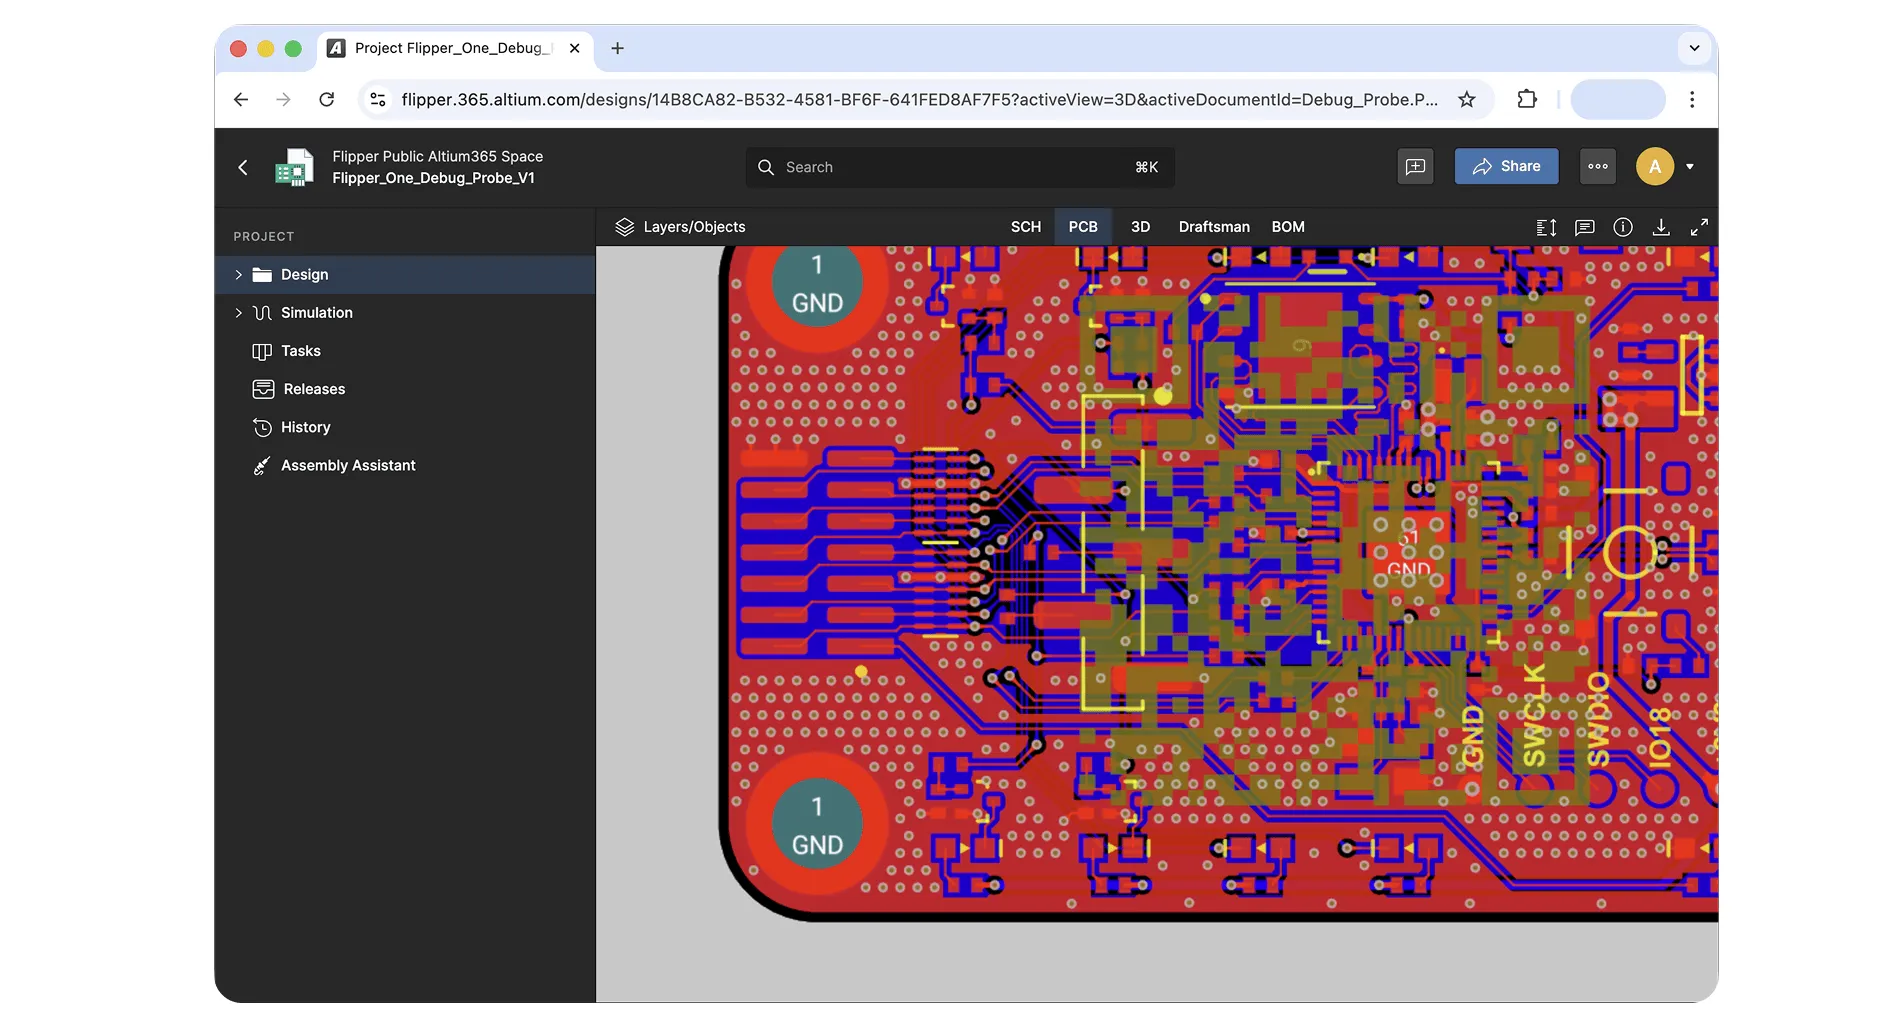
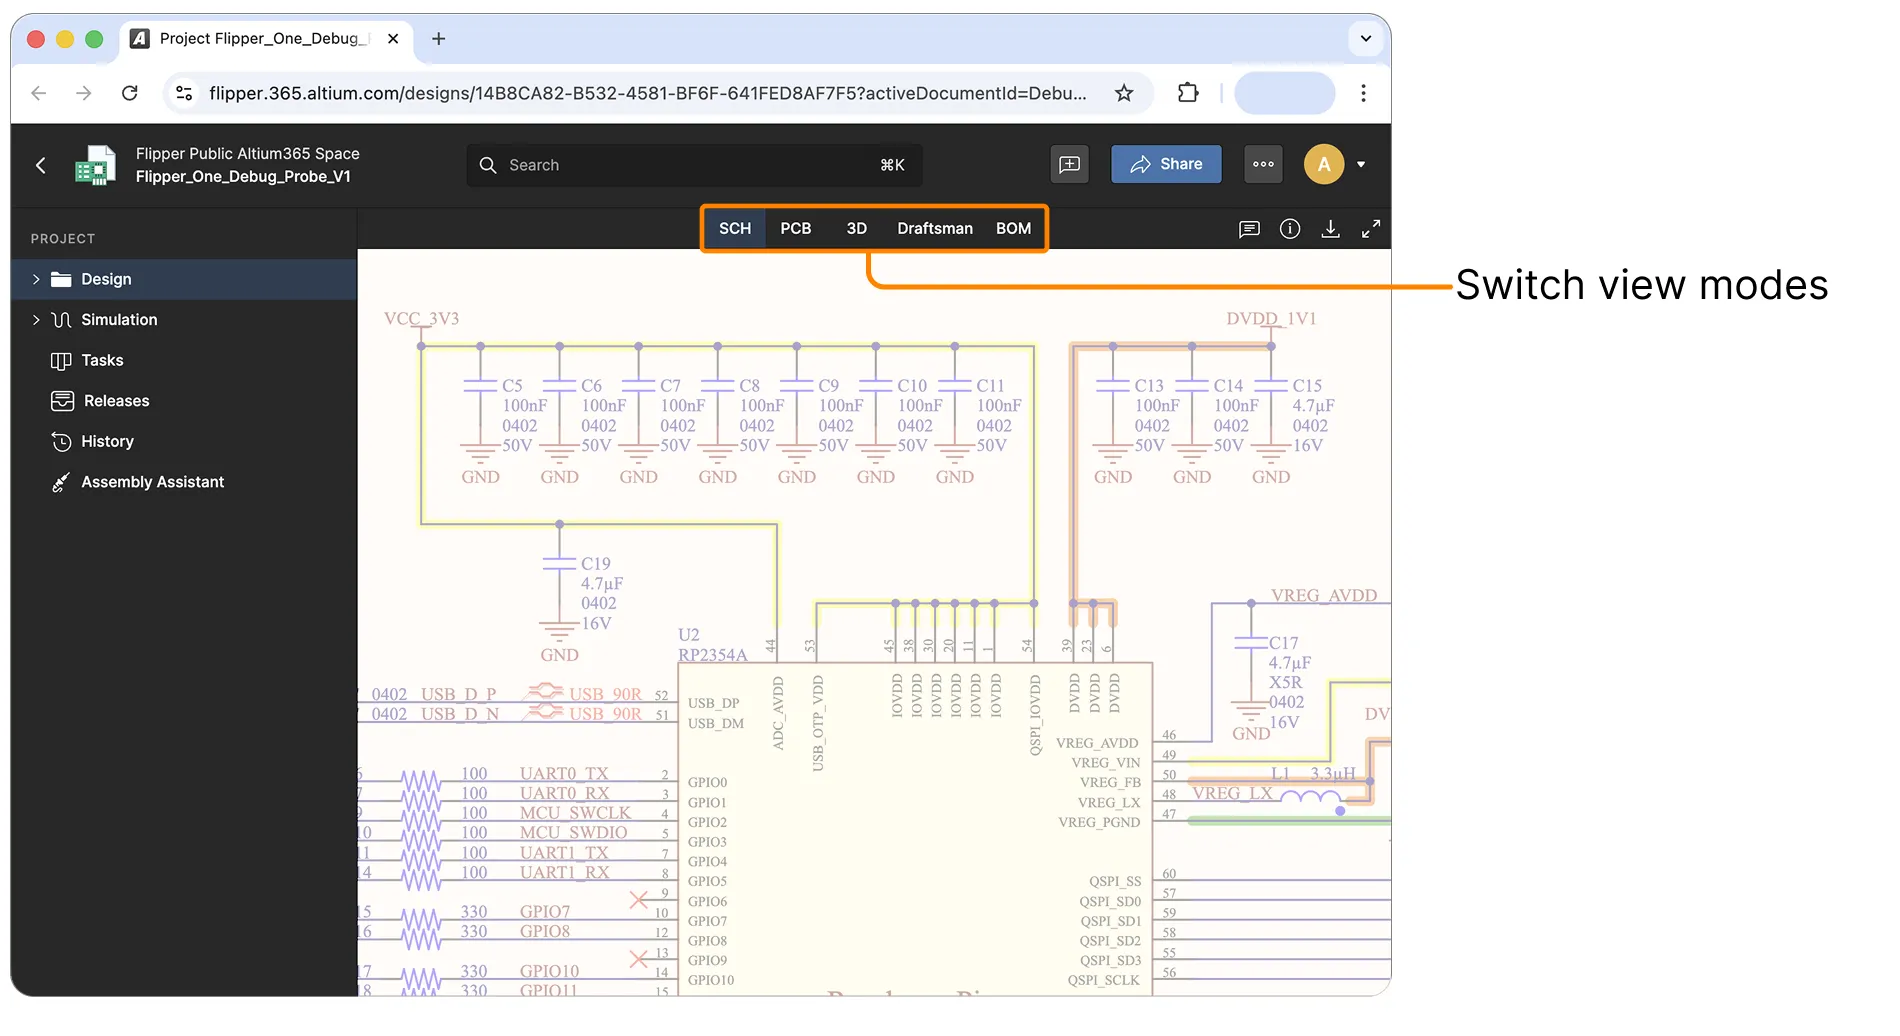
Click any project in the Flipper One folder to open it in the Web Viewer. Five view tabs are available along the top:
- SCH — schematic
- PCB — 2D layout
- 3D — interactive 3D render
- Draftsman — fabrication documentation
- BOM — Bill of Materials
How to view the design files
The Altium 365 Web Viewer lets you browse the project directly in your browser — no Altium Designer install required.
Open the Flipper One folder. Go to Flipper One on Altium 365.
Sign in with your Altium or Google account. If you don't have an Altium account, create one — it's free for viewing shared projects.
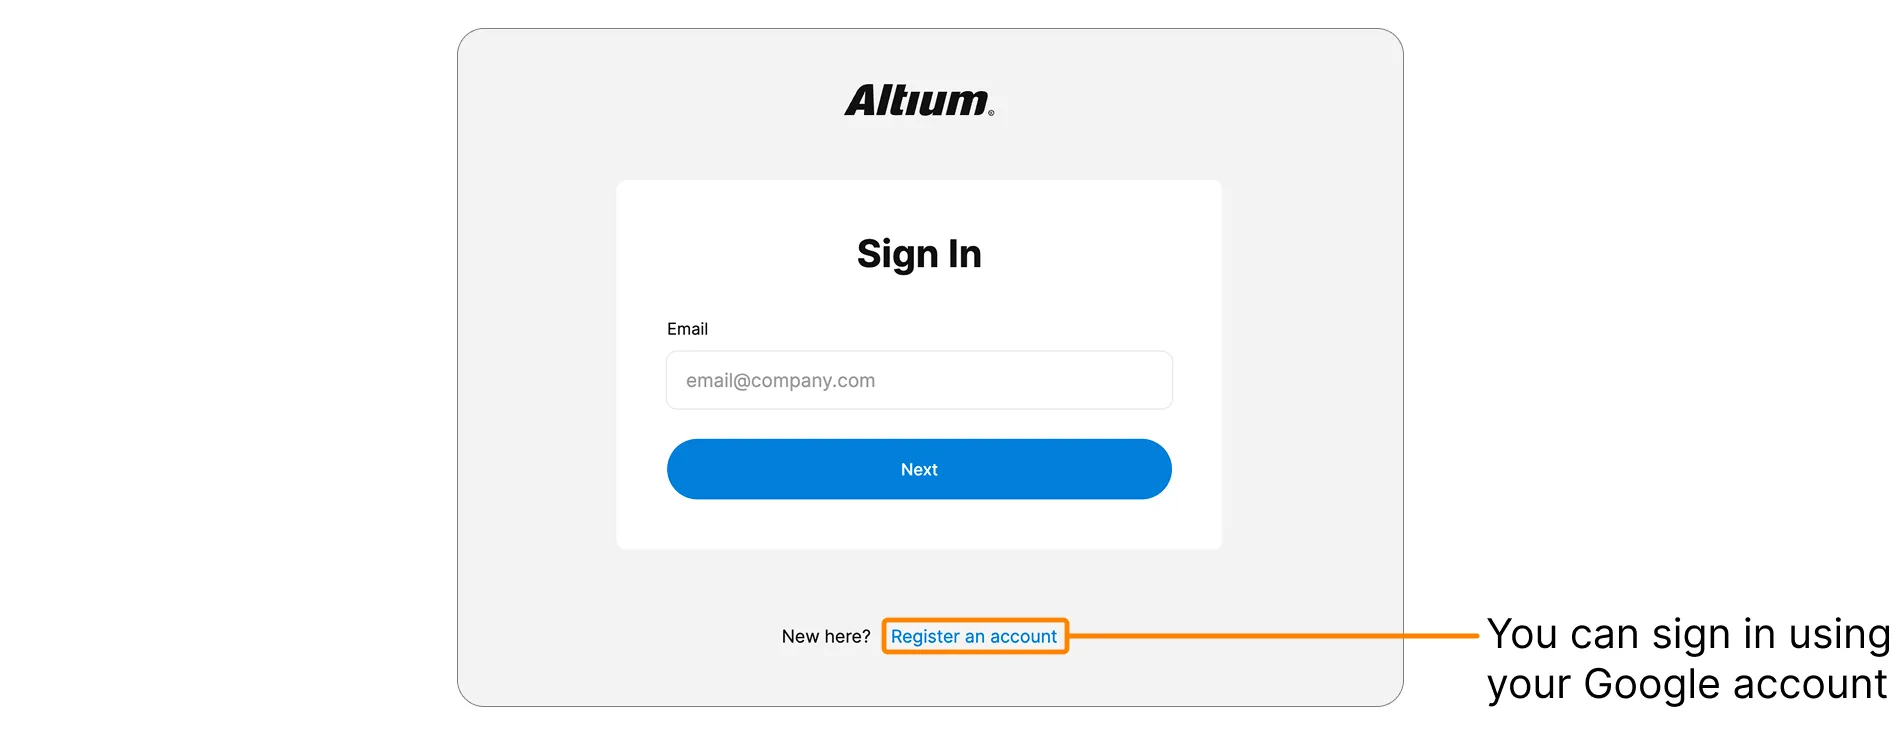
Open a project. Click the project you want to inspect.
Switch between views. Use the tabs at the top of the viewer to move between SCH, PCB, 3D, Draftsman, and BOM.
Inspect components and nets. All views support pan and zoom, plus search and cross-probing — click a component on the schematic to highlight it on the PCB, or select a net to trace it across the design.
How to export the design files
The Web Viewer includes a download control whose available formats depend on the view you're in. From the schematic, PCB, or BOM views you can download a copy of the document for offline reference.
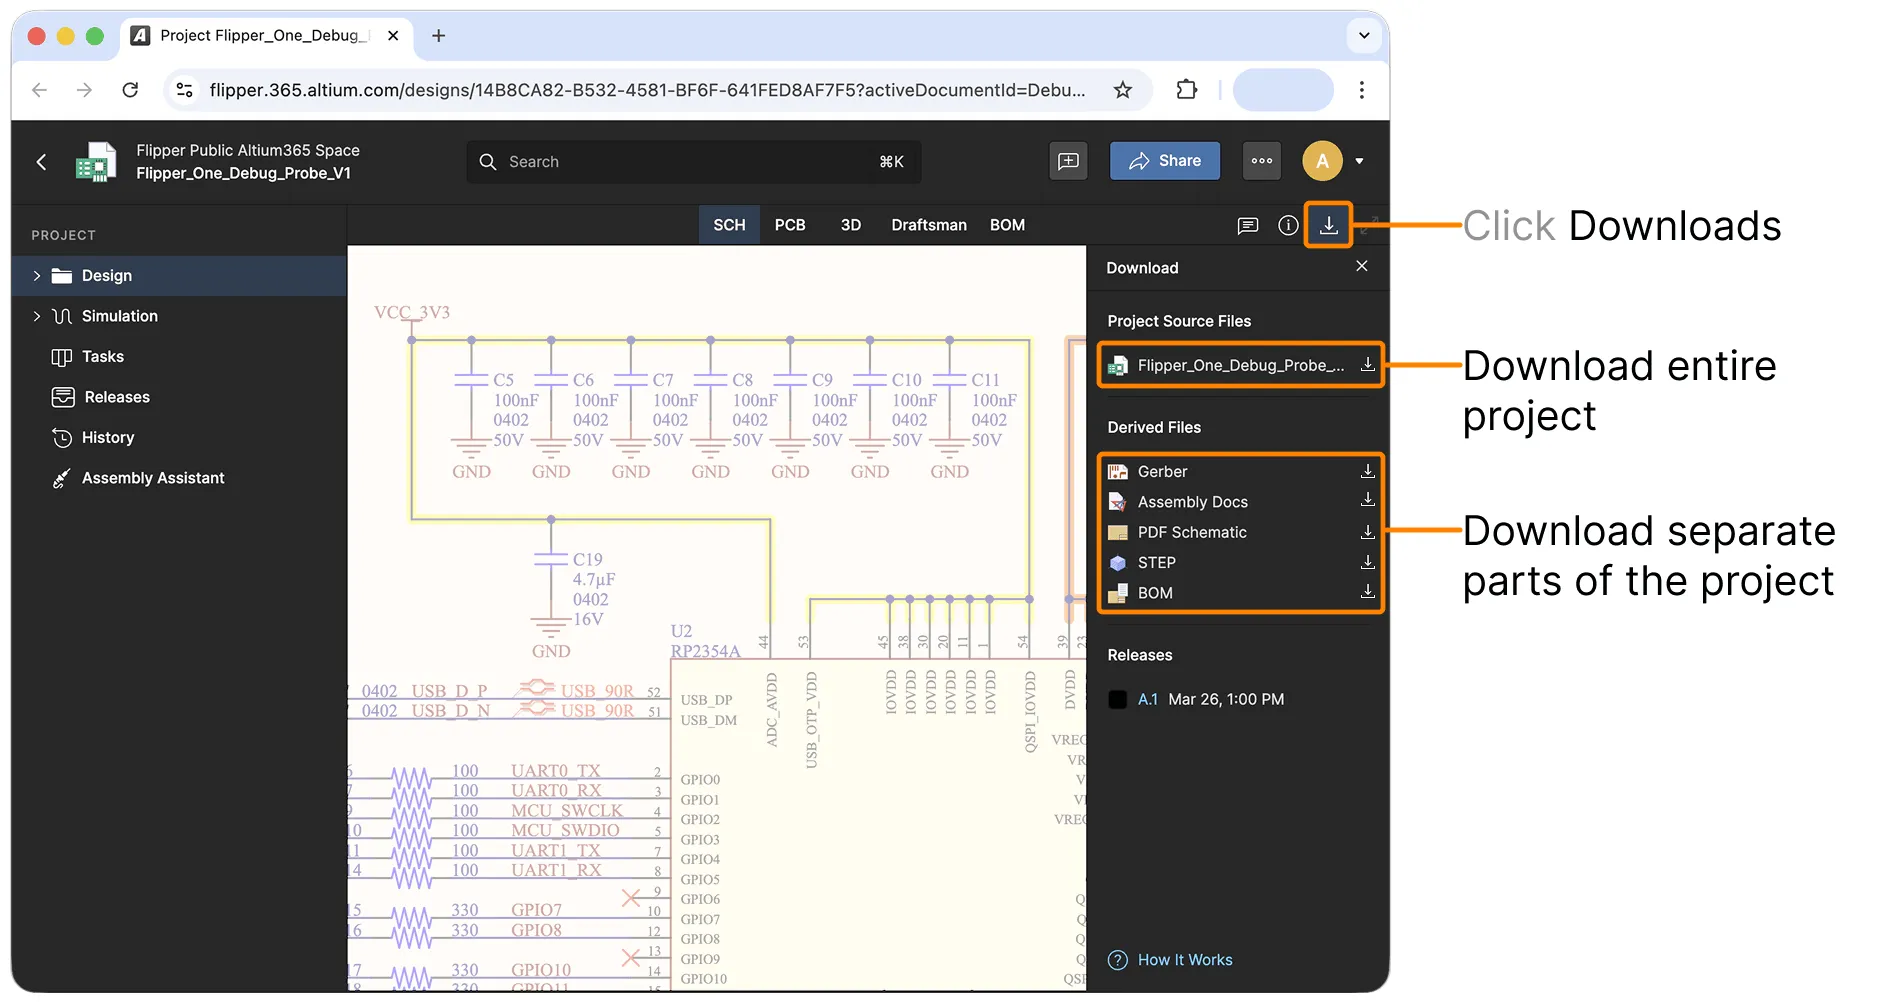
The Web Viewer can export the entire project or individual derived files for offline reference.
Open a project and click the Downloads icon in the top-right of the viewer. A panel opens with Project Source Files and Derived Files sections.
Download the whole project. In Project Source Files, click the project entry to download all source files as a single archive.
or
Download individual files. In Derived Files, pick what you need — Gerber, Assembly Docs, PDF Schematic, STEP, or BOM.
For full info about the download feature, see Altium's official Web Viewer documentation.
📚 Docs
Hardware documentation is split across two sections:
- 🔌 Hardware section (you're here) — port pinouts, modules, and subsystem references (Wi-Fi & Bluetooth, power, M.2, GPIO).
- 🧪 Testing section🧪 Testing section — hardware verification procedures for each subsystem.
How to contribute
The Hardware sub-project accepts contributions in two forms: comments on open tasks for ideas, suggestions, and improvements, and edits to the docs for documenting hardware experiments, findings, or external module designs.
Suggest your change as a comment on an open task
⚠️ Contributions only — no flooding
To keep collaboration productive, please keep comments on-topic. Open tasks are for contribution-related discussion only. If you have an idea or concern, first turn it into a concrete contribution and share it as a comment on a task. For general questions or discussions, you're always welcome to join the conversation on social media or Discord!
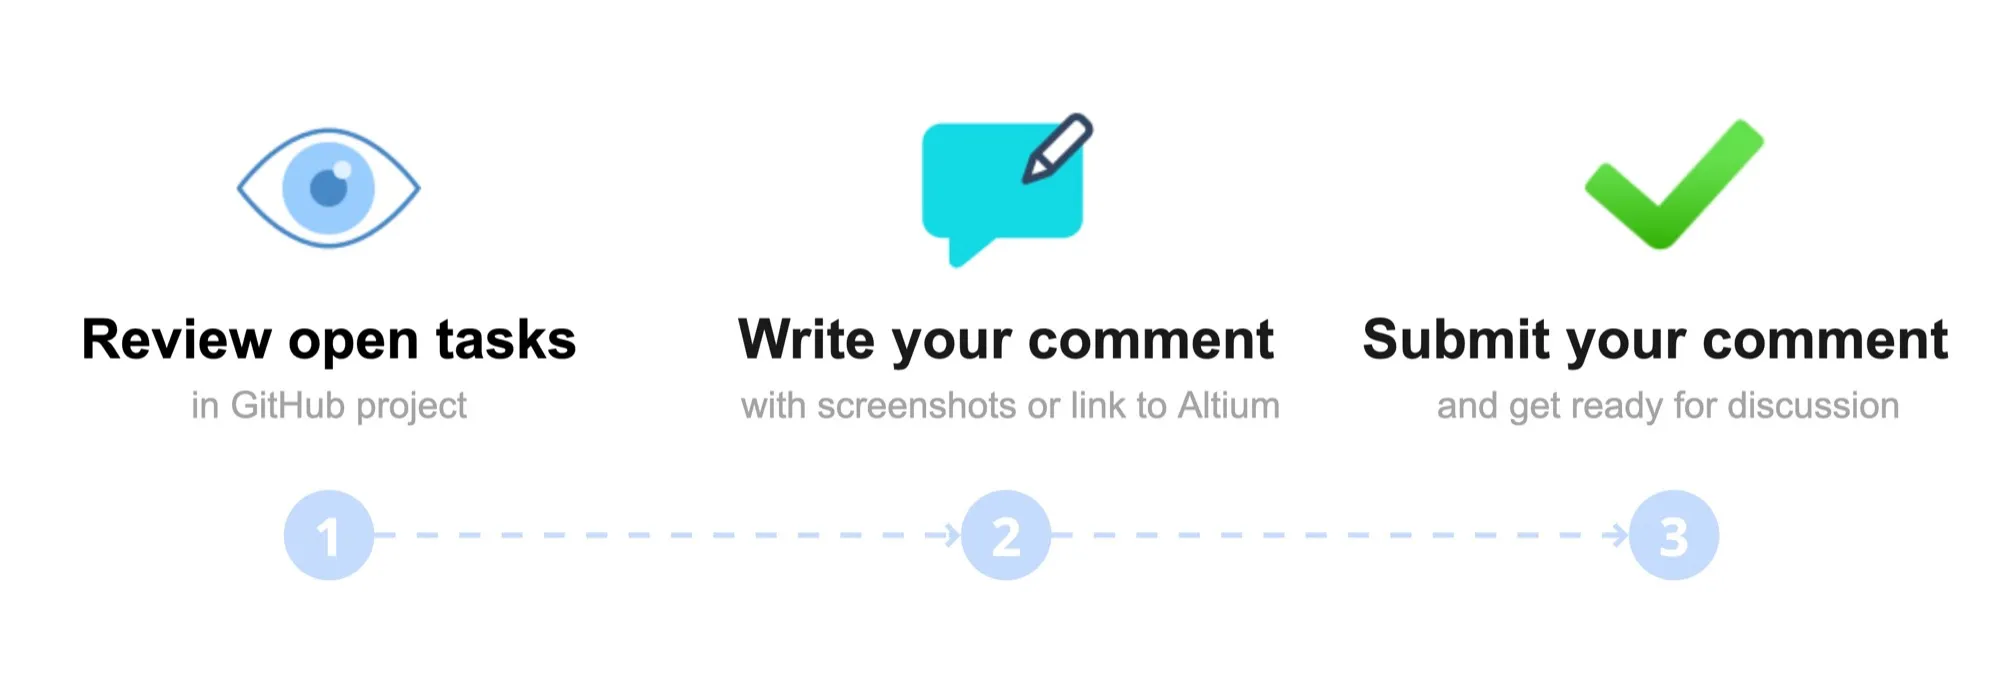
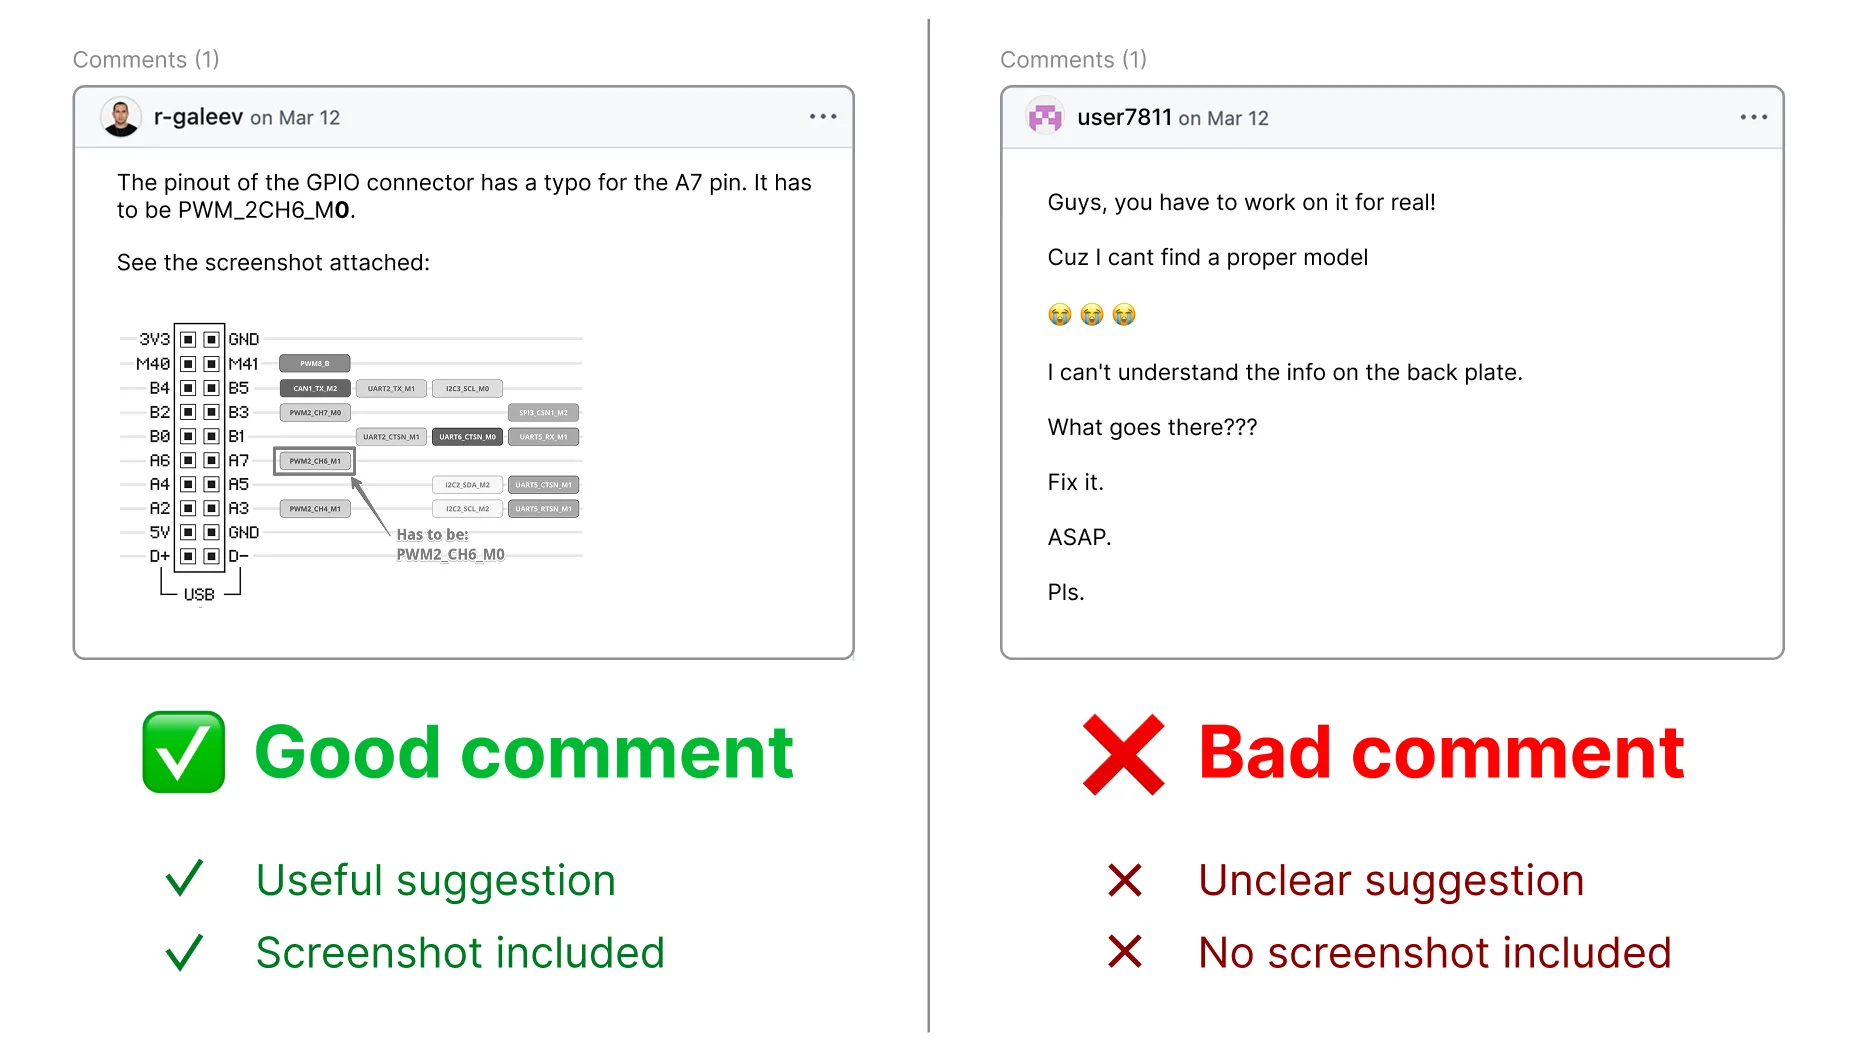
Open tasks that need the community's help are labeled help wanted. If you have ideas on how to improve the design, you can contribute by commenting on the task and attaching screenshots, schematics, or links:
Pick a task. In the Hardware GitHub project, browse the open tasks and click the one labeled help wanted that you want to contribute to.
Write your suggestion. In the comments section, clearly describe your suggestion and attach a screenshot, schematic snippet, or a link to your design on Altium 365. Ensure your design is accessible for others to view.
Attachment size limit:
- Images: 10 MB
- Videos: 100 MB
Click Comment to submit.
We review all comments carefully! We may ask additional questions about your idea in the task thread, so please watch for GitHub notifications in your email.
Contribute to the docs
If you've spotted an error in the Hardware section, want to clarify something, or want to share your hardware experiments and findings, you're welcome to contribute by editing the docs. The fastest way to jump straight to a page's source is the Edit on GitHub button on the live site — it opens the page's .md file directly in the GitHub editor.
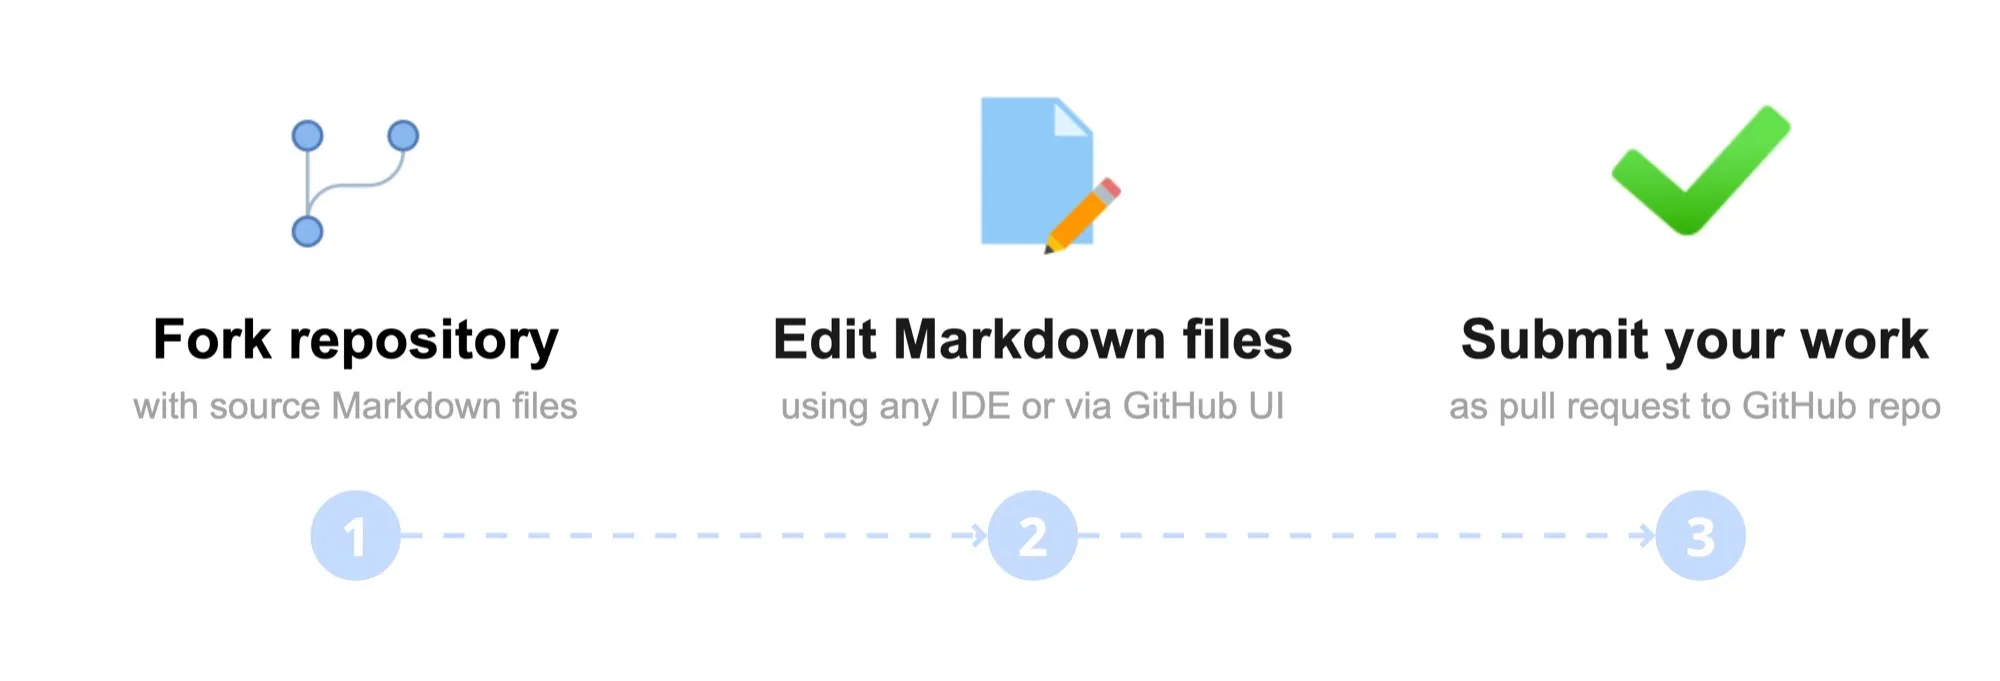
For a longer change, fork the repository, make your edits on a new branch, and open a pull request:
Read the Markup referenceMarkup reference to learn the supported Markdown and Archbee syntax.
Fork the repository. Go to flipperone-docs and click Fork in the upper-right corner. Your fork opens on the public-release branch — the production branch connected to the live site. All your work happens here.
Edit or create your .md file. In your fork, find the file you want to edit under docs/hardware/, or create a new one in the appropriate subfolder. Follow the syntax shown on the Markup example page — some Markdown features behave differently in Archbee.
(Optional) Add images. If your change includes images, diagrams, or screenshots, upload them to docs/files/pics/ and reference them with a relative path:
Use descriptive, lowercase filenames with hyphens (e.g. gpio-pinout.png). Keep images under 1 MB.
(Optional) Register the new page in archbee.json. Place it in the sidebar hierarchy (no deeper than two levels) — see How archbee.json worksHow archbee.json works for the syntax. It's okay to skip — we'll update the file after merging your PR.
Create a branch and commit. Name the branch nickname/what-changed (e.g. john/gpio-module-experiment). Keep commit messages concise — e.g. Add: GPIO module pinout reference.
Open a pull request from your branch to the original repository. The target is pre-selected to public-release — leave it as is. Add a clear title and description, and ideally attach screenshots and a link to the related open task.
Make sure Allow edits by maintainers is ticked so we can apply small wording or syntax fixes directly to your PR.
Once merged, Archbee publishes your changes to the live site.
Once your pull request is merged into public-release, Archbee automatically picks up the changes and rebuilds the live site at docs.flipper.net/one.