Markup reference
This page is a reference for contributors writing Flipper One documentation. It covers both standard Markdown and Archbee-specific syntax supported by this wiki.
The source files live on GitHub at github.com/flipperdevices/flipper-one-docs. Every merged pull request automatically rebuilds the live site. To contribute, fork the repo and open a pull request.
Quick jump:
- Code
- Math
Headings
Flipper One documentation supports headings H1–H3.
Don't add # Heading 1 in the body. Archbee renders the title: field from the YAML frontmatter as the page H1, so an extra # H1 in the body produces two titles. Start body content at ## H2.
## Heading 2
### Heading 3
Text styles
Flipper One docs | Markdown |
|---|---|
Regular text | Regular text |
Bold | **Bold** |
Italic | *Italic* |
Bold italic | ***Bold italic*** |
| ~~Strikethrough~~ |
Inline code | `Inline code` |
Links
Flipper One docs | Markdown |
|---|---|
[Archbee](https://archbee.com) | |
[https://example.com](https://example.com) | |
[Jump to Tables](./#tables) |
To control whether a link opens in a new tab — and to write short relative hrefs for in-docs links — use Archbee's :Link[] directive instead of plain Markdown.
External link (new tab):
:Link[label]{href="https://example.com" newTab="true" hasDisabledNofollow="false"}Same-page anchor (same tab):
:Link[label]{href="./#section-name" newTab="false" hasDisabledNofollow="true"}Another page in the docs (optional anchor):
:Link[label]{href="<relative-path>.md#section-name" newTab="true" hasDisabledNofollow="true"}Use a path relative to the current file:
- ./Other-Page.md — file in the same folder
- ./folder/Other-Page.md — file in a subfolder
- ../folder/Other-Page.md — file in a sibling folder
The #section-name anchor is optional. Anchor IDs are derived from the heading text (lowercased, spaces replaced with hyphens).
Attribute | Description |
|---|---|
href | Link target. Supports full URLs (https://example.com), same-page anchors (./#section), and relative paths to other docs pages (./Other-Page.md, ./folder/Other-Page.md, ../folder/Other-Page.md). Append #section to jump to a specific heading. |
newTab | "true" opens the link in a new tab, "false" opens it in the same tab. Use "false" for same-page anchor links. |
hasDisabledNofollow | "false" adds rel="nofollow" to the link (default for external links); "true" removes it. |
Images
Remote URL: 

Local path: 

To resize or align an image, standard Markdown is not enough — use Archbee syntax:
::Image[]{src="/files/pics/test-image.jpg" size="40" position="flex-start" caption="Caption text"}
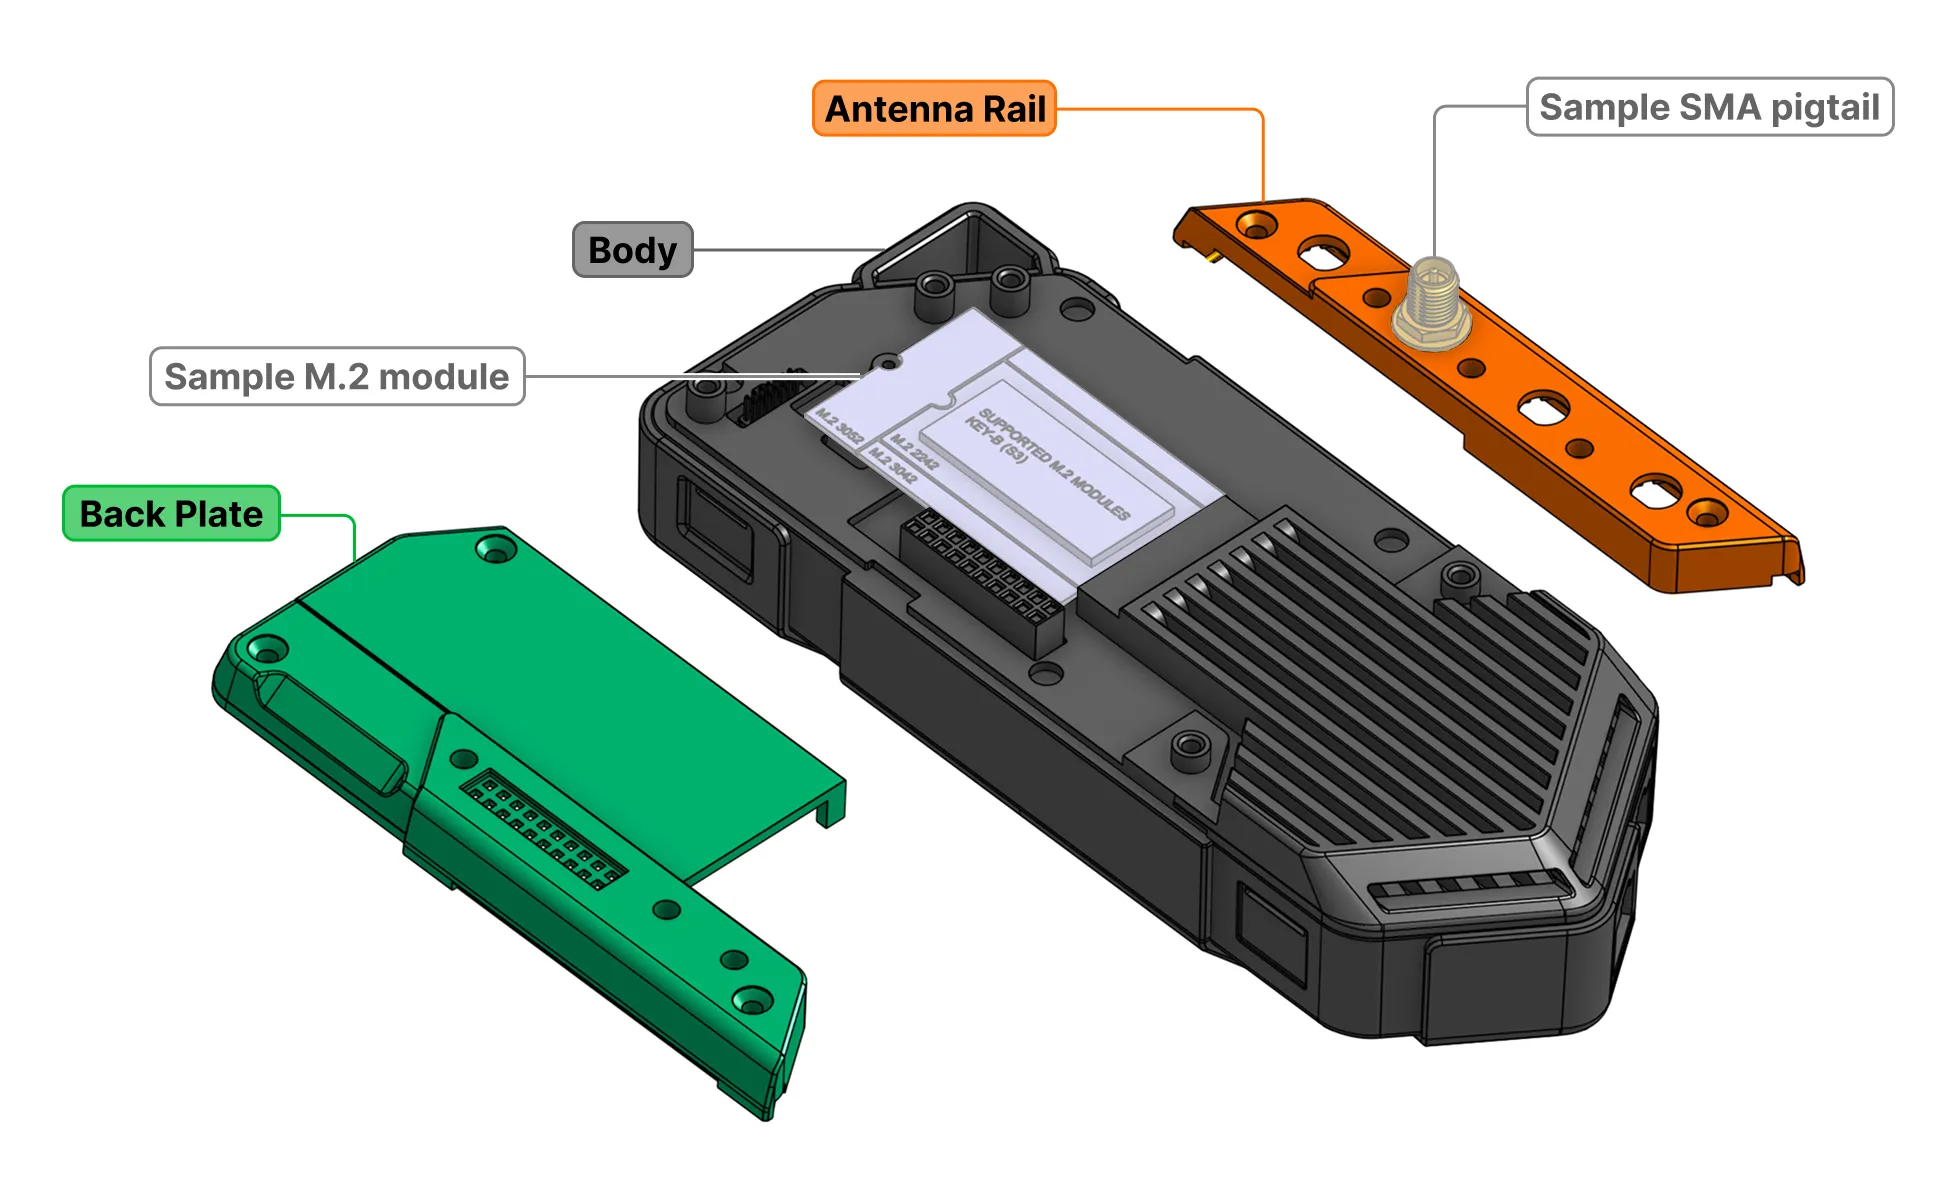
Attribute | Description |
|---|---|
src | Path to the image (relative or absolute URL). |
size | Width value in percent. |
position | Page alignment when the image is smaller than the content area: flex-start (left), center, flex-end (right). Has no effect on caption alignment. |
caption | An optional caption is shown below the image. Always left-aligned for local images. |
Inline images
You can add inline images using inlineImage:
:inlineImage[]{src="/files/icons/ptt-button-light.png"}This is how an inline image  appears in a paragraph.
Use the following icons for Flipper One controls:
- PTT light button (ptt-button-light.png)
 PTT orange button (ptt-button-orange.png)
 Touchpad (touchpad.png)
 Touchpad left-right movement (touchpad-left-right.png)
 Touchpad up-down movement (touchpad-up-down.png)
 Touchpad four-way movement (touchpad-four-way-movement.png)
 Esc button (esc-button.png)
 View button (view-button.png)
 Power button with LED off (power-button-led-off.png)
 Power button with green LED (power-button-led-green.png)
 Power button with yellow LED (power-button-led-yellow.png)
 Edit button (edit-button.png)
 Run button (run-button.png)
 App switcher button (app-switcher-button.png)
 Back light button (back-button-light.png)
 Back orange button (back-button-orange.png)
 Ok button on the D-pad (dpad-ok-button.png)
 Down button on the D-pad (dpad-down-button.png)
 Left button on the D-pad (dpad-left-button.png)
 Up button on the D-pad (dpad-up-button.png)
 Right button on the D-pad (dpad-right-button.png)
 Right or Left buttons on the D-pad (dpad-left-right-button.png)
 Up or Down buttons on the D-pad (dpad-up-down-button.png)
Videos
Two methods to embed video are supported.
Method 1: YouTube — use Archbee's embed syntax:
::embed[]{url="https://www.youtube.com/watch?v=VIDEO_ID"}
Method 2: Self-hosted / CDN video — use the Archbee :::Iframe component. The HTML you embed goes inside the code="..." attribute, which means every " must be escaped as " and every newline as 
. The whole HTML ends up on one logical line:
:::Iframe{code="<video
 autoplay muted loop playsinline style="width: 100%; margin: 0 !important;"
 src="https://cdn.example.com/your-video.mp4"
></video>
<div class="text-center mt-2.5 text-gray-400 pb-5">
Caption
</div>" iframeHeight="500"}
:::Conceptually that decodes to:
<video
    autoplay muted loop playsinline style="width: 100%; margin: 0 !important;"
    src="https://cdn.example.com/your-video.mp4"
></video>
<div class="text-center mt-2.5 text-gray-400 pb-5">
Caption
</div>
Lists
Flipper One docs | Markdown |
|---|---|
| - Item A - Item B |
| 1. First 2. Second 3. Third |
Divider
Use *** or --- to insert a horizontal divider.
Tables
Archbee supports two table formats.
Standard Markdown pipe tables — simple and readable, but no control over column widths or alignment:
| Column 1 | Column 2 | Column 3 |
| --- | --- | --- |
| Cell | **Bold** | ✅ |
Column 1 | Column 2 | Column 3 |
|---|---|---|
Cell | Bold | ✅ |
HTML tables — use when you need column widths, cell alignment, or images inside cells:
<table isTableHeaderOn="true" columnWidths="165,330,165">
  <tr>
    <td><p>Header 1</p></td>
    <td><p>Header 2</p></td>
    <td align="center"><p>Header 3</p></td>
  </tr>
  <tr>
    <td><p>Cell</p></td>
    <td><p><strong>Bold cell</strong></p></td>
    <td align="center"><p>✅</p></td>
  </tr>
</table>
Attribute | Description | Example |
|---|---|---|
isTableHeaderOn | Renders the first row as a bold header | "true" / "false" |
columnWidths | Comma-separated pixel widths per column. Total must not exceed 660 px | "165,330,165" |
align | Horizontal alignment on a <td> element | align="center" |
Code & syntax highlighting
Fenced block with language:
```javascript
function greet(name) {
  return `Hello, ${name}!`;
}
```
function greet(name) {
return `Hello, ${name}!`;
}
Diff block:
```diff
+ Added line
- Removed line
```
+ Added line
- Removed lineSupported language tags: markdown, html, javascript, typescript, python, bash, c, cpp, json, yaml, diff, tex, mermaid, and more.
Callouts
Archbee supports four callout styles using :::hint{type="..."}:
:::hint{type="info"}
Your text for the **info callout** here
:::
Your text for the info callout here
:::hint{type="success"}
Your text for the **success callout** here
:::
Your text for the success callout here
:::hint{type="warning"}
Your text for the **warning callout** here
:::
Your text for the warning callout here
:::hint{type="danger"}
Your text for the **danger callout** here
:::
Your text for the danger callout here
Math
Archbee only supports math via a fenced tex block. Inline math ($...$) is not supported.
```tex
\int_{-\infty}^{\infty} e^{-x^2} \, dx = \sqrt{\pi}
```
\int_{-\infty}^{\infty} e^{-x^2} \, dx = \sqrt{\pi}Mermaid diagrams
Use a fenced mermaid block. Supported diagram types: flowchart, sequenceDiagram, classDiagram, gantt, and more.
flowchart TD
  A[Start] --> B{Is it Markdown?}
  B -- Yes --> C[Render nicely]
  B -- No  --> D[Fallback]
  C --> E[Ship it]
  D --> E
flowchart TD
A[Start] --> B{Is it Markdown?}
B -- Yes --> C[Render nicely]
B -- No --> D[Fallback]
C --> E[Ship it]
D --> E
sequenceDiagram
  participant U as User
  participant S as System
  U->>S: Sends Markdown
  S-->>U: Renders page
sequenceDiagram
participant U as User
participant S as System
U->>S: Sends Markdown
S-->>U: Renders pageArchbee components
Workflow steps
Use WorkflowBlock with WorkflowBlockItem for numbered step-by-step flows:
::::WorkflowBlock
:::WorkflowBlockItem
Step one title

Step description.
:::

:::WorkflowBlockItem
Step two title

Step description.
:::
::::Step one title
Step description.
Step two title
Step description.
Two-column layout
Use VerticalSplit to place content side by side:
::::VerticalSplit{layout="middle"}
:::VerticalSplitItem
**Left side**

Content
:::

:::VerticalSplitItem
**Right side**

Content
:::
::::
Left side
Content
Right side
Content
Expandable section
Use ExpandableHeading for collapsible content:
:::ExpandableHeading
### Section title

Content shown when expanded.
:::